Back Office: Sync Inventory
Sign into the Back Office then select a Store.
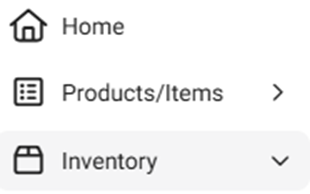
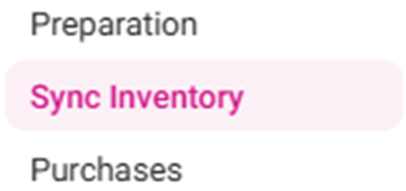
On the left-side Navigation Panel, click Inventory then Sync Inventory.
The Sync Inventory page appears, highlighting the benefits available to a fully synced inventory: Create purchase orders, Receive low stock email alerts, Calculate your COGS, Create recipes for your menu items, Theoretical vs actual inventory, Track wastage, theft and spoilage, and Know your food cost details.
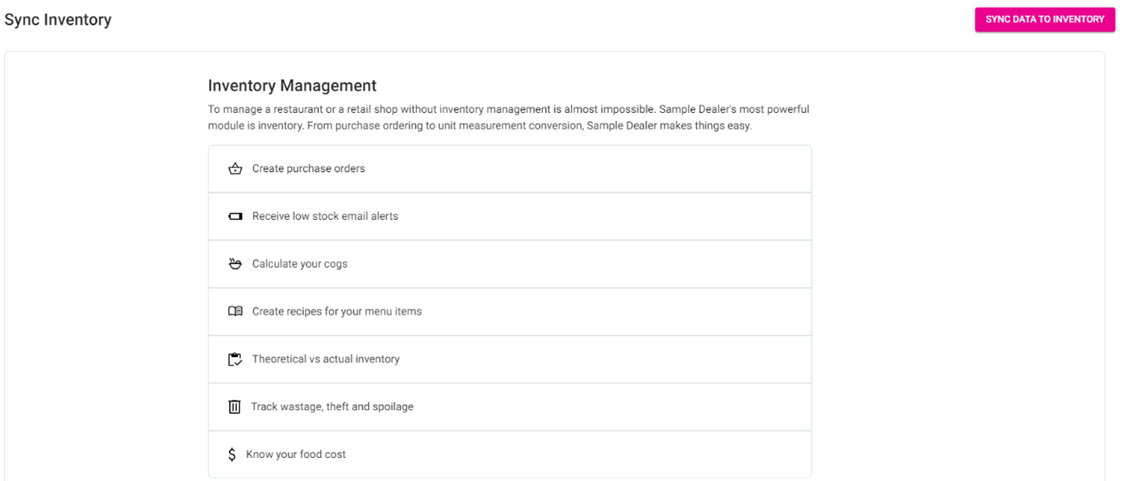
Synchronize your data by clicking Sync Data To Inventory at the upper-right.

The ‘Data syncing to inventory’ banner appears for a moment, followed by the ‘Stay Calm, Authenticating’ banner, then the syncing will complete.


If you made any changes to the inventory and don’t see those changes in another Inventory tab, please sync the data manually and it will reflect.
Related Articles
POS: Operation - Sync Back Office
Overview When a Store Admin user logged into Back Office has made changes then clicks Save and Publish, the respective changes will be applied to the POS automatically after a short period. To see the changes immediately, use the Sync Back Office ...
Back Office: Adjust Inventory
Sign into the Back Office. On the left-side Navigation Panel, click Inventory then Adjust Inventory. The Adjust Inventory screen appears, with tabs for Inventory Item, Retail Item and Sub-Recipe. At the upper-right portion of each tab’s page, buttons ...
Back Office: Inventory Modifiers
Sign into the Back Office then select a Store. On the left-side Navigation Panel, click Inventory then Inventory Modifiers. The Inventory Modifiers page appears, which contains a table of existing Modifiers – organized by Active/Inactive status. This ...
Back Office: Inventory Purchases
Sign into the Back Office and select a Store. On the left-side Navigation Panel, click Inventory then Purchases. The Purchases page appears, with sub-page options for Purchase Templates, Purchase Orders, Purchase Invoices, Received Items, or Expired ...
Back Office: Inventory Preparation
Sign into the Back Office then select a Store. On the left-side Navigation Panel, click Inventory then Preparation. The Preparation page appears. Select Prepare Menu Item or Prepare Sub Recipe. Prepare Menu Item The page contains existing Menu Items, ...