Hardware Installation Guide

Please refer to our Site Requirements Guide to ensure your site is properly equipped for hardware installation.
Ubiquiti Dream Router
What's in the Box?
- 1- Ubiquiti Dream Router (pre-configured)
- 1- Power Cable
- 1- Ethernet Cable
Connecting Power
- The power port is in the back of the device
- Attach the back of the power cable to DC connector port
- Plug into power
- Wait 2-3 minutes for the Router to fully power on and be ready
Connecting the Ubiquiti Dream Router to your Internet Provider/ISP
- It is important that the network is configured correctly to ensure accurate connection
- Connect a Ethernet cable from your Internet Providers LAN port into Dream Routers WAN port:
From Your Router (Internet Provider's) LAN ----> Dream Router Ethernet WAN - The Status LED Light will illuminate with Blue color within 2-3 minutes once successful connection is made
- You will see also see the Wi-Fi status on the front LCD screen
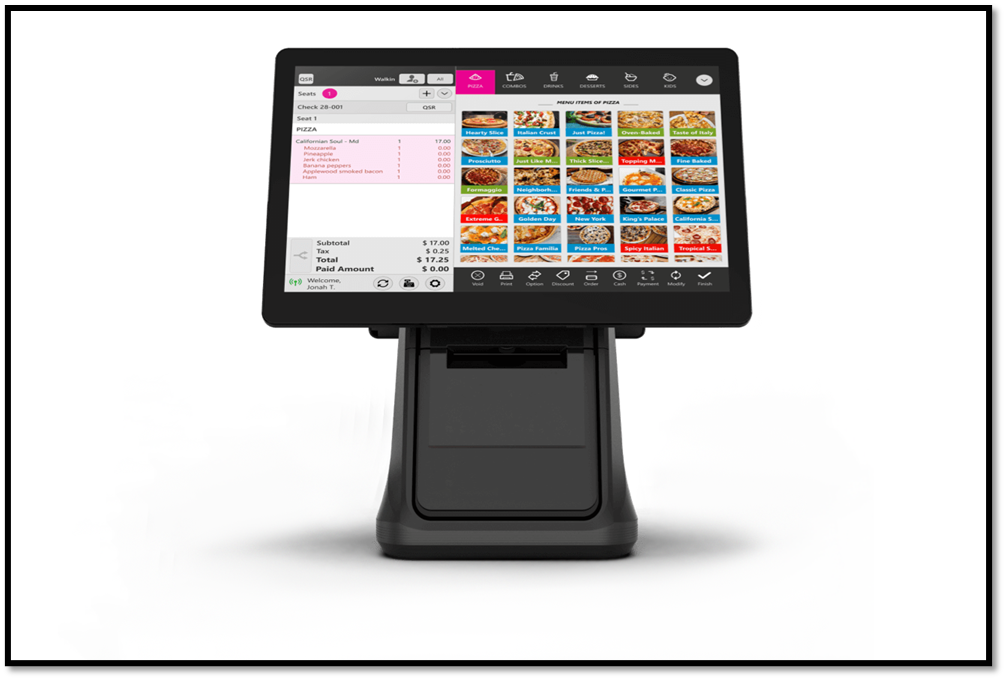
 Point of Sale
Model: Allure + 15.6" with 15.6" CDS (Customer Display System) Android
What's in the Box?
- 1- Dual Screen POS System
- 1- Power Cable, Power Adapter
- 1- Dust Cover
Connecting Power
- The power port is located behind the lower back cover
- Lift the cover and attach the power cable
Connecting Ethernet Cable
Note: The following steps are NOT needed if your POS arrived pre-configured for Wi-Fi connection
Note: The following steps are NOT needed if your POS arrived pre-configured for Wi-Fi connection
- Lift the back cover and connect an Ethernet cable to the LAN port
- Attach the end of the Ethernet cable to the LAN port of the Dream Router
- If the Internet connection is good, the indicator light will show green on the POS LAN port
Connecting the Cash Drawer
- Unbox the Cash Drawer box. You'll find:
- 1- Full size 16x16 Cash Drawer
- 1- Cashdrawer Cable
- 2- Sets of Keys for the Lock
- Lift the back cover of the POS and connect the cash drawer cable to the cash drawer port
- Connect the end of the cash drawer cable labeled PRINTER to the cash drawer port
- Connect the other end labeled CASH DRAWER to the bottom of the cash drawer
NOTE: If the cash drawer does not open, check to ensure you have the cables connected correctly.
Loading the Paper Roll
- Pull the printer release button located under the front screen, to the right
- Load the paper with the paper rolling over the roller
Powering On
- Press and hold the power button for 2 seconds on the right side of the POS to turn on the Android OS
- Wait 3-4 seconds for the Android to boot
Connecting the Internet
Note: Your system will arrive pre-configured for internet connectivity and will auto connect to the specific Router/Wi-Fi once powered on.
Generally there is nothing more that needs to be done besides ensuring all the steps above were followed.
- To manually connect to Wi-Fi, navigate to Android Settings from Android Home Screen
- Select Network & Internet ----> Internet ----> Toggle Wi-Fi On and Select Desired Wi-Fi network to connect
Important: Ensure all other previous connected / saved Wi-Fi networks are deleted from the Saved Networks. Otherwise Wi-Fi connection can switch to other saved network and cause disconnections.
See Internet Requirements Guide for more information.
- To manually connect to Ethernet, ensure the Ethernet cable is connected to the POS and Router then navigate to Android Settings from Android Home Screen
- Select Network & Internet ----> Internet ----> Toggle Wi-Fi OFF ----> select back from bottom left corner of the screen ----> Ethernet
Lunching the Revonu Cloud POS app
- Click the Cloud POS icon on the Android home screen to open the app
- Enter your store credentials to login
- Login successful
Credit Card Reader
Model: Pax A35
What's in the Box?
- 1- A35 Smart Terminal (pre-configured)
- 1- Power Cable, Power Adapter
- 1- Communication Cables
Connecting Power
- Connect the USB-A power cable [ B ] to Power Adapter [ A ]
- Connect the USB-C end to the charging port
Connecting the Communication Cable
Note: The Smart Card Reader will arrive pre-configured for POS and internet connectivity and will auto connect to the specific Router/Wi-Fi once powered on.
- Connect an Ethernet cable to the Red LAN port
- Connect the other end of the Ethernet cable to the Dream Router
Powering on the Terminal
- Connect the Power Adapter to appropriate power outlet
- Smart Terminal will boot to the Android Home screen
- Select TSYS Sierra app to open the Revonu payment screen
- Once Revonu logo is displayed on the screen, you are ready to take payments!
 Kitchen Display System (KDS)
What's in the Box?
- 1- 23.8" KDS Smart Screen
- 1- Power Cable, Power Adapter
- 1- 23.8" KDS Smart Screen
- 1- Power Cable, Power Adapter
Related Articles
Site Requirements Guide
To ensure that your site is ready to install your Revonu POS hardware, please follow this Site Requirements Guide. Introduction Your business has already begun the implementation process, but there are a few onsite requirements you will need to ...POS: Operation - Customer Display Hardware Settings
Back Office CDS Back Office Settings For more information, see the Back Office CDS Settings Knowledge Article. License Settings Navigation: Log into Enterprise, then select Licenses > License Settings To integrate CDS with the POS of a Store: the ...Revonu POS Hardware Requirements
Revonu POS Hardware Requirements as of 5/1/2025 for existing devices and are subject to change. Revonu POS does not take responsibility for any malfunction based upon existing devices not provided by Revonu. Please ensure that your POS devices meet ...POS: Operation - Printer Hardware Settings
Back Office For more information on Printer and Receipt Template settings, see the following Knowledge Articles: Receipt Printers Kitchen Printers Kitchen Receipt Template POS On the Hardware Settings page, select the Printer Settings tab. It ...POS: Operation - Scale Hardware Settings
Back Office See the Receipt Printer Knowledge Article. Connecting the Printer to the Scale On the Scale: connect the DB9 male side of the cable to the highlighted port. Connect the port supply to the highlighted port. Connect the scale cable to the ...